AE-SATURN
Hey back again with these blog post
I would like to share my simple process of creating the Canon AE- 1 Saturn artwork.
As I had a lot of fun making it!
-The Camera-
The Camera has to be the most iconic part of the piece! otherwise its a boring planet. As a Film camera user I have many old cameras sitting around. I simply took a picture with my phone and cropped it out in Krita.

-Saturn-
For Saturn I used my 3d skills in blender to render on top of my camera. I used a free texture I found for Saturn and applied it on a sphere.
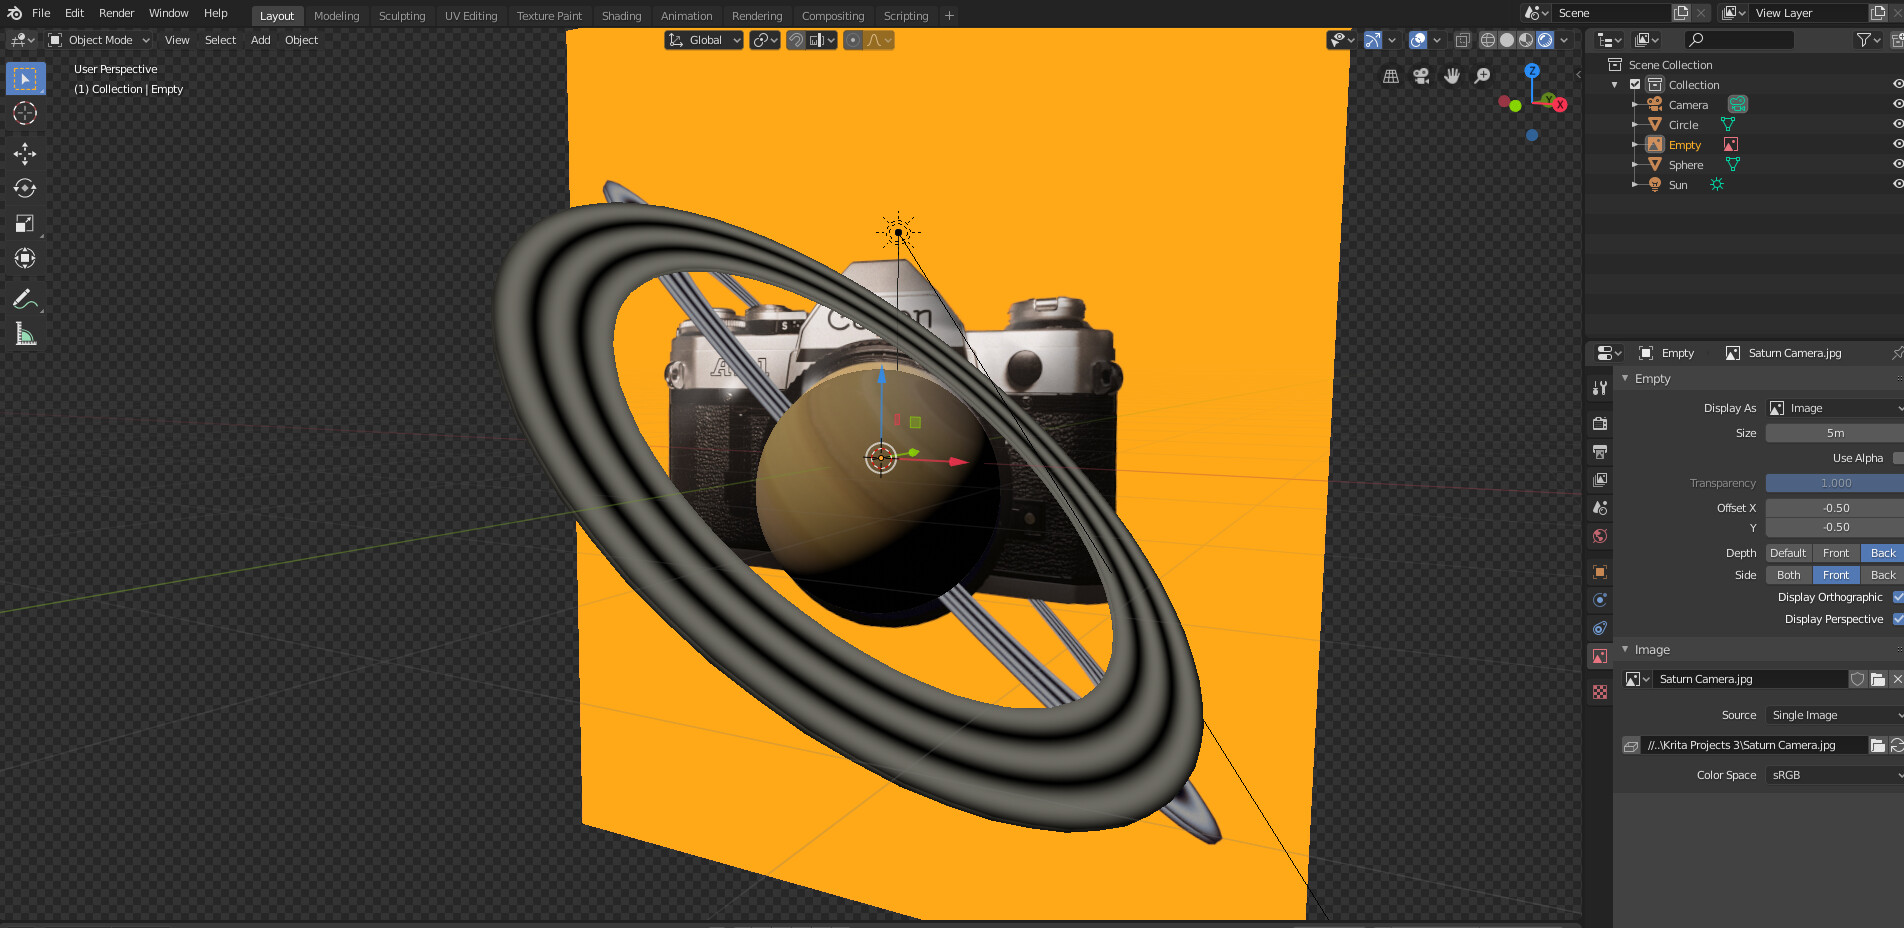
For the rings I used a generative texture as shown here.

The final render before layering.

-Shadows-
I wanted to match the shadowing on the camera to match Saturn. It gives it a more connected feel between the two objects. For this I used kritas built in photo editing system known as G'MIC-QT (weird name but good features) An option on there called illuminate 2d shape helped to draw a fake shadow on the camera.

Alternatively you could take a photo of your camera with real lighting, this would require more time though.

-Finale-
After both camera and Saturn were ready I used Krita to combine them. Using layers, masking the rings, adding grain for a more vintage feel, and who could forget that crisp yellow background. Id say this is the simplest project I have ever done. It was a lot of fun and I hope to do many more.

Hope you enjoyed reading my process. Feel free to use this method to create your own works!
God Bless, - Jacob